Install omero-py
In this section, we show how to install omero-py together with additional packages for image analysis in a Conda environment.
We will use the Python API to access data stored in an OMERO server. The image analysis is typically done with packages like scikit-image or dask.
If you want to use the Python API only for interacting with the OMERO server, like scripting management / import workflows you can just install the omero-py package by itself, see omero-py.
Setup
For using the examples and notebooks of this guide we recommend using Conda (Option 1). Conda manages programming environments in a manner similar to virtualenv.
Alternatively you can use repo2docker to build and run a Docker image locally (Option 2).
This Docker image will provide the Conda environment and Jupyter notebooks with some image
analysis workflows.
When the installation is done, you should be ready to use the OMERO Python API, see Getting started with the OMERO Python API.
Option 1
Install omero-py and additional packages for image analysis (see
environment.yml) via Conda.
Install Miniconda if necessary.
If you do not have a local copy of the omero-guide-python repository, first clone the repository:
$ git clone https://github.com/ome/omero-guide-python.git
Go into the directory:
$ cd omero-guide-python
Create a programming environment using Conda:
$ conda create -n omeropy python=3.6
Install
omero-pyand other packages useful for demonstration purposes in order to connect to an OMERO server using an installation file:$ conda env update -n omeropy --file binder/environment.yml
Activate the environment:
$ conda activate omeropy
Option 2
Create a local Docker Image using repo2docker, see README.md:
$ pip install jupyter-repo2docker
$ git clone https://github.com/ome/omero-guide-python.git
$ cd omero-guide-python
$ repo2docker .
When the Image is ready:
Copy the URL displayed in the terminal in your favorite browser
Click the
Newbutton on the right-hand side of the windowSelect
Terminal
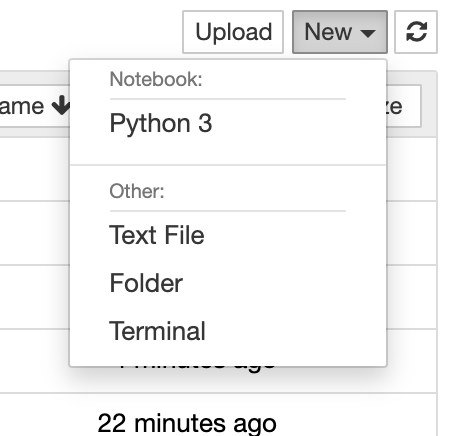
A Terminal will open in a new Tab
A Conda environment has already been created when the Docker Image was built
To list all the Conda environments, run:
$ conda env list
The environment with the OMERO Python bindings and a few other libraries is named
notebook, activate it:$ conda activate notebook