Analyze OMERO timelapse images using the TrackMate User Interface
In this example we open in Fiji an image stored in an OMERO server and use TrackMate to analyze it.
Description
In this section, we show how to use TrackMate via its User Interface. The manual steps are essential to determine the suitable parameters to analyze the images. Note that when using the TrackMate User Interface, the generated tracks cannot be saved as ROIs into OMERO.server.
Setup
Install Fiji on the local machine with the OMERO.insight-ij plugin. The installation instructions can be found in the Fiji guide.
Resources
We use an artificial track image https://samples.fiji.sc/FakeTracks.tif.
Step-by-Step
Launch Fiji.
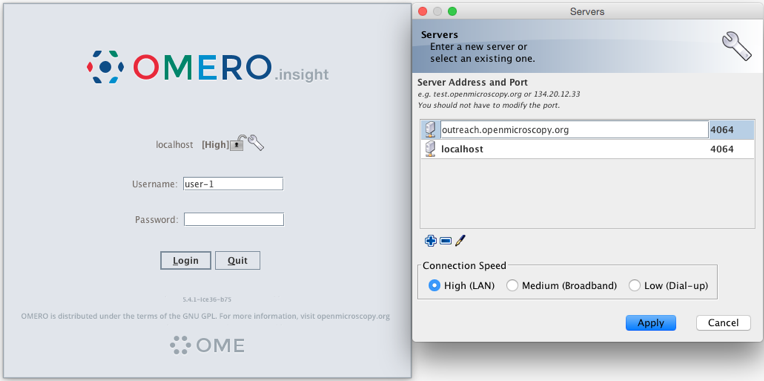
Go to Plugins > OMERO > Connect To OMERO. This will show a login screen where you can enter the name of the server to connect to, the username and password. The OMERO plugin will allow you to browse your data in a similar manner to OMERO.web.
In the OMERO login dialog, click the wrench icon
 and then
add the server address in the dialog. By default, only “localhost”
is listed. Click on the plus icon to add a new line to the list
and type into the line the server address.
and then
add the server address in the dialog. By default, only “localhost”
is listed. Click on the plus icon to add a new line to the list
and type into the line the server address.Click Apply.
Enter your credentials and click Login.
Browse the Dataset where your image to be tracked is located, e.g. artificial-trackmate.
Double-click on the FakeTracks.tif Image to open it in Fiji.
Make sure it is opened using the
Hyperstackviewer. This option depends on what you did last time when using your Fiji.In case you are not sure, Open
Plugins > Bio-Formats > Bio-Formats importerand then select any image on your local computer to open it in Fiji. In the popup dialog, in the top left dropdown menu.
Select
Hyperstackand clickOK. Then, close and re-open the FakeTracks.tif Image from OMERO.
Go to
Plugins > Tracking > TrackMate.Click
Nextin the first dialog that pops up.A new dialog pops up indicating to select a detector. Select the
DoG detector. ClickNext.Set the
Estimated blob diameterto5.0Set the
Thresholdto5.0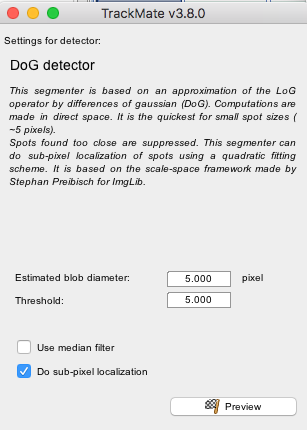
Click the
Previewbutton to find spots. 4 spots should be found.Click the
Nextbutton several times until you get to theSelect a viewdialog.Select the
HyperStack Displayer view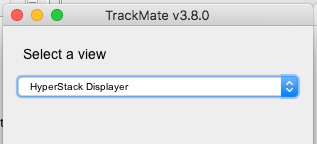
Click the
Nextbutton twice until you get to theSelect a trackerwindow. Select theLAP Tracker.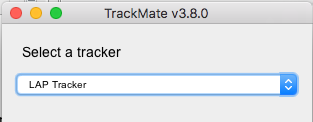
Click the
Nextbutton several times until a dialog with three tabs pops upSelect the
Trackstab to display theTracks.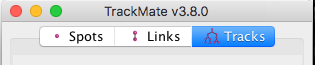
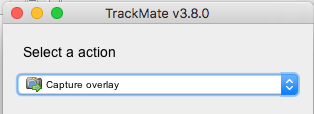
Click
Nextuntil you get toSelect an actiondialog.Select the option Capture overlay
Click Execute.
Click
OKin the following dialog, leaving the defaults (the whole stack will be captured).New image appears. Select it. This new Image can then be imported as an OME-TIFF using
Plugins > OMERO > Save Image(s) to OMERO. The tracks will be part of the generated OME-TIFF and the timepoints will be captured as z-sections.